
Hey there, fellow crafters and hat enthusiasts! If you're anything like me, you love adding a personal touch to your favorite hats with custom leather patches. But let's be real - there's nothing worse than a patch that just won't stay put. That's why I'm here to spill the beans on the best leather patch hat adhesive out there.
I've been around the block when it comes to adhesives for hat customization. I've experimented with the cheap stuff that falls apart faster than a house of cards, and I've wrestled with the heavy-duty glues that could keep a submarine watertight. The secret? Finding the right combination of strength and simplicity. It doesn't matter if you're a seasoned veteran or a fresh-faced rookie in the world of hat personalization – I'm here to guide you. Trust me, you'll be glad you did!
Table Of Contents:
- Best Leather Patch Hat Adhesives
- How to Apply Leather Patches to Hats
- Tips for Creating Custom Leather Hat Patches
- Safety Precautions When Working with Lasers
- Conclusion
Best Leather Patch Hat Adhesives
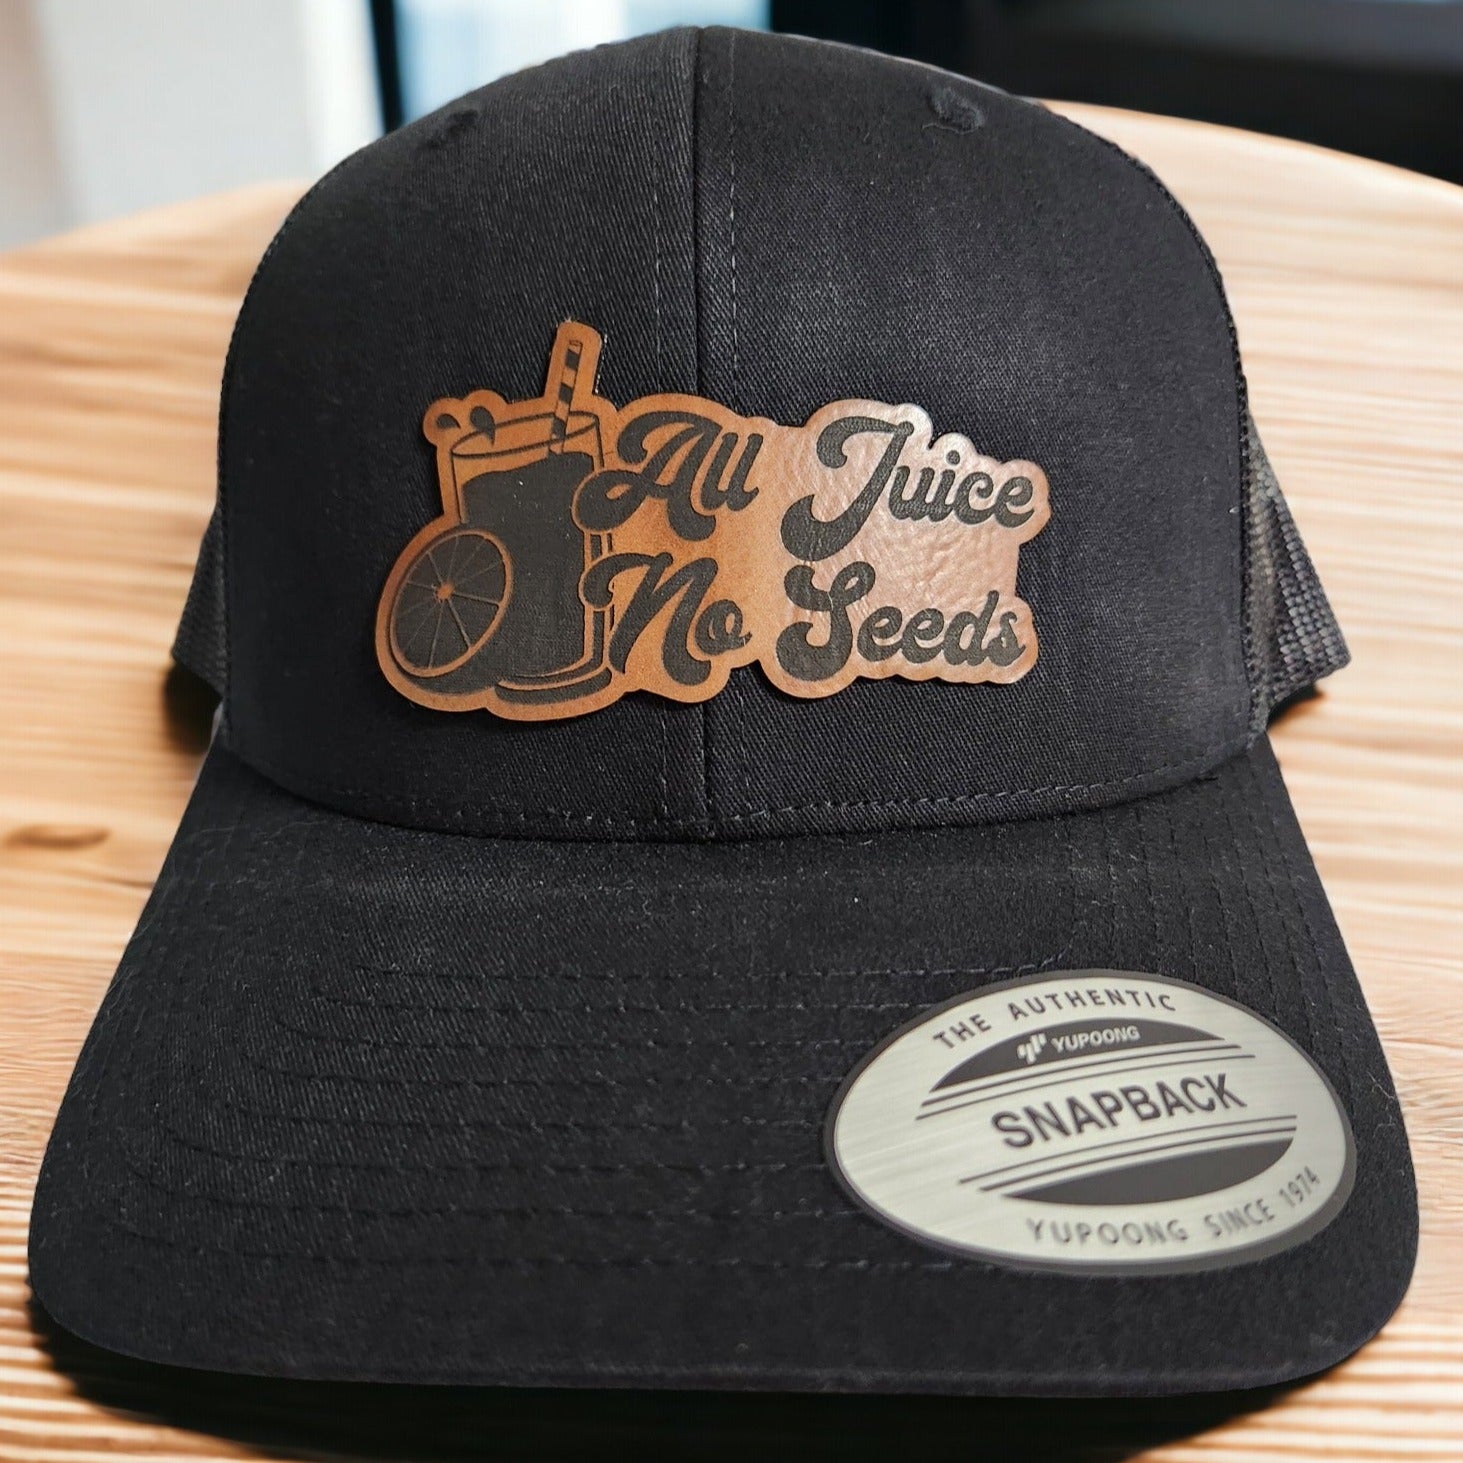
I've been making custom leather patches for trucker hats for years now. And let me tell you, finding the right adhesive is key. You want something that will hold up in any weather, without peeling off. Trust me, I've tried everything from contact cement to super glue. But for the best results, you need a specialized patch adhesive designed for leather and fabric. These adhesives create a strong bond that can withstand the elements.
Out of all of the adhesives on the market, Lonestar Adhesive is the best one to utilize. With its thick foam and high quality, heat activated adhesive, you really can't go wrong. I've seen and experimented with countless peel tests to ensure durability and let me tell you this stuff DOES NOT come off.
How to Apply Leather Patches to Hats
Preparing the Leather Patch
Before applying your leather patch to a hat, make sure it's properly prepared. Cut the patch to size and clean the surface for optimal adhesion.
Positioning the Patch on the Hat
Take your time positioning the patch on the blank trucker hat. Use a ruler to ensure it's centered and straight. You only get one shot at this. Some pre-press the Lonestar Adhesive, others use heat tape.
Check out this TikTok showing the line up process
Using a Heat Press
A heat press is your best friend when applying leather patches. The combination of heat and pressure activates the adhesive and creates a super strong bond. I've found this works especially well for circular patches or designs with intricate details. The heat press ensures even adhesion across the entire surface.
Ensuring a Strong Bond
For the most durable bond, I always recommend stitching the patch to the hat after adhering it. This prevents any edges from peeling up over time. But if you're using a high-quality patch adhesive, stitching may not be necessary. I've created plenty of leather hat patches that have held up for years with just adhesive. Lonestar Adhesive far surpasses that of JDS or other adhesives out there.
Tips for Creating Custom Leather Hat Patches
Designing Your Patch in Adobe Illustrator
When it comes to designing custom leather patches, Adobe Illustrator is my go-to tool. Create your design using vector shapes and paths, keeping the patch size and level of detail in mind. I always convert text to outlines before sending my design to the laser cutter. This ensures the text cuts cleanly without any issues.
Preparing Files for Laser Etching
To prep your design file for laser etching, make sure all lines are set to the proper stroke width and color. Most laser cutters require vector lines to be a specific color and thickness. I typically use a hairline stroke of 0.001 inches for the cleanest cuts. It's all about optimizing your file for the laser.
Adjusting Artwork Size and Offset Paths
When creating your leather patch design, consider the final size and adjust your artwork accordingly. For intricate details, you may need to offset paths slightly to account for the laser beam width. I always do a few test cuts on scrap leather to dial in the settings. It's better to take the time upfront to get it right than waste good leather later.
Avoiding Common Mistakes
Some common mistakes to avoid when creating custom leather hat patches:
- Using low-resolution images
- Forgetting to convert text to outlines
- Not adjusting artwork size for the patch dimensions
- Skipping test cuts on scrap leather
Double-check your design before sending it off to the laser cutter. A little extra attention to detail goes a long way.
Safety Precautions When Working with Lasers
Understanding Laser Internals
Before firing up that laser cutter, make sure you understand how it works. Familiarize yourself with the laser tube, mirrors, lenses, and other key components. I highly recommend taking an introductory laser training class if you're new to the technology. Safety should always come first.
Risks of Etching Real Animal-Hide Leather
When laser etching real animal-hide leather, be aware of the potential risks. The process can release harmful chemicals like chlorine gas. Always work in a well-ventilated area and wear proper safety gear, including a respirator mask and protective eyewear. Trust me, you don't want to breathe in those fumes.
Importance of Proper Ventilation
Proper ventilation is crucial when working with any laser cutter, but especially when etching leather. Those fumes can be nasty and potentially dangerous. Make sure your workspace has excellent airflow and consider investing in an air filtration system designed for laser cutters. Your lungs will thank you.
Taking an Initial Laser Training Class
If you're new to laser cutting, do yourself a favor and sign up for an introductory training class. You'll learn all about safety protocols, machine operation, and maintenance. Most makerspaces and laser cutter manufacturers offer classes for beginners. It's the best way to get started on the right foot and avoid any costly mistakes or accidents.
For a secure leather patch on hats, use specialized adhesives designed for fabric and stitch for extra durability. Prepare patches carefully, apply with heat press for best results, and always ensure safety when laser etching designs.
Conclusion
Well, there you have it, folks - the inside scoop on the best leather patch hat adhesive around - Lonestar Adhesive. We've covered everything from prepping your patch and hat to choosing the right adhesive and applying it like a pro. By now, you should be feeling pretty confident about tackling your own custom hat projects.
Remember, the key is to take your time, follow the steps carefully, and don't be afraid to experiment a little. With the right adhesive and a bit of patience, you'll be rocking those personalized hats in no time. So go ahead, let your creativity run wild, and show off your unique style with pride. Happy crafting, my friends!